Ender 6 Wiring Vers
Ender 6 Wiring Vers. When you opened the ender 6 box, you will find the blue acrylic shell on the top. 5.1 remove the stock hotend. 5.3 attach the biqu h2 to the adapter.

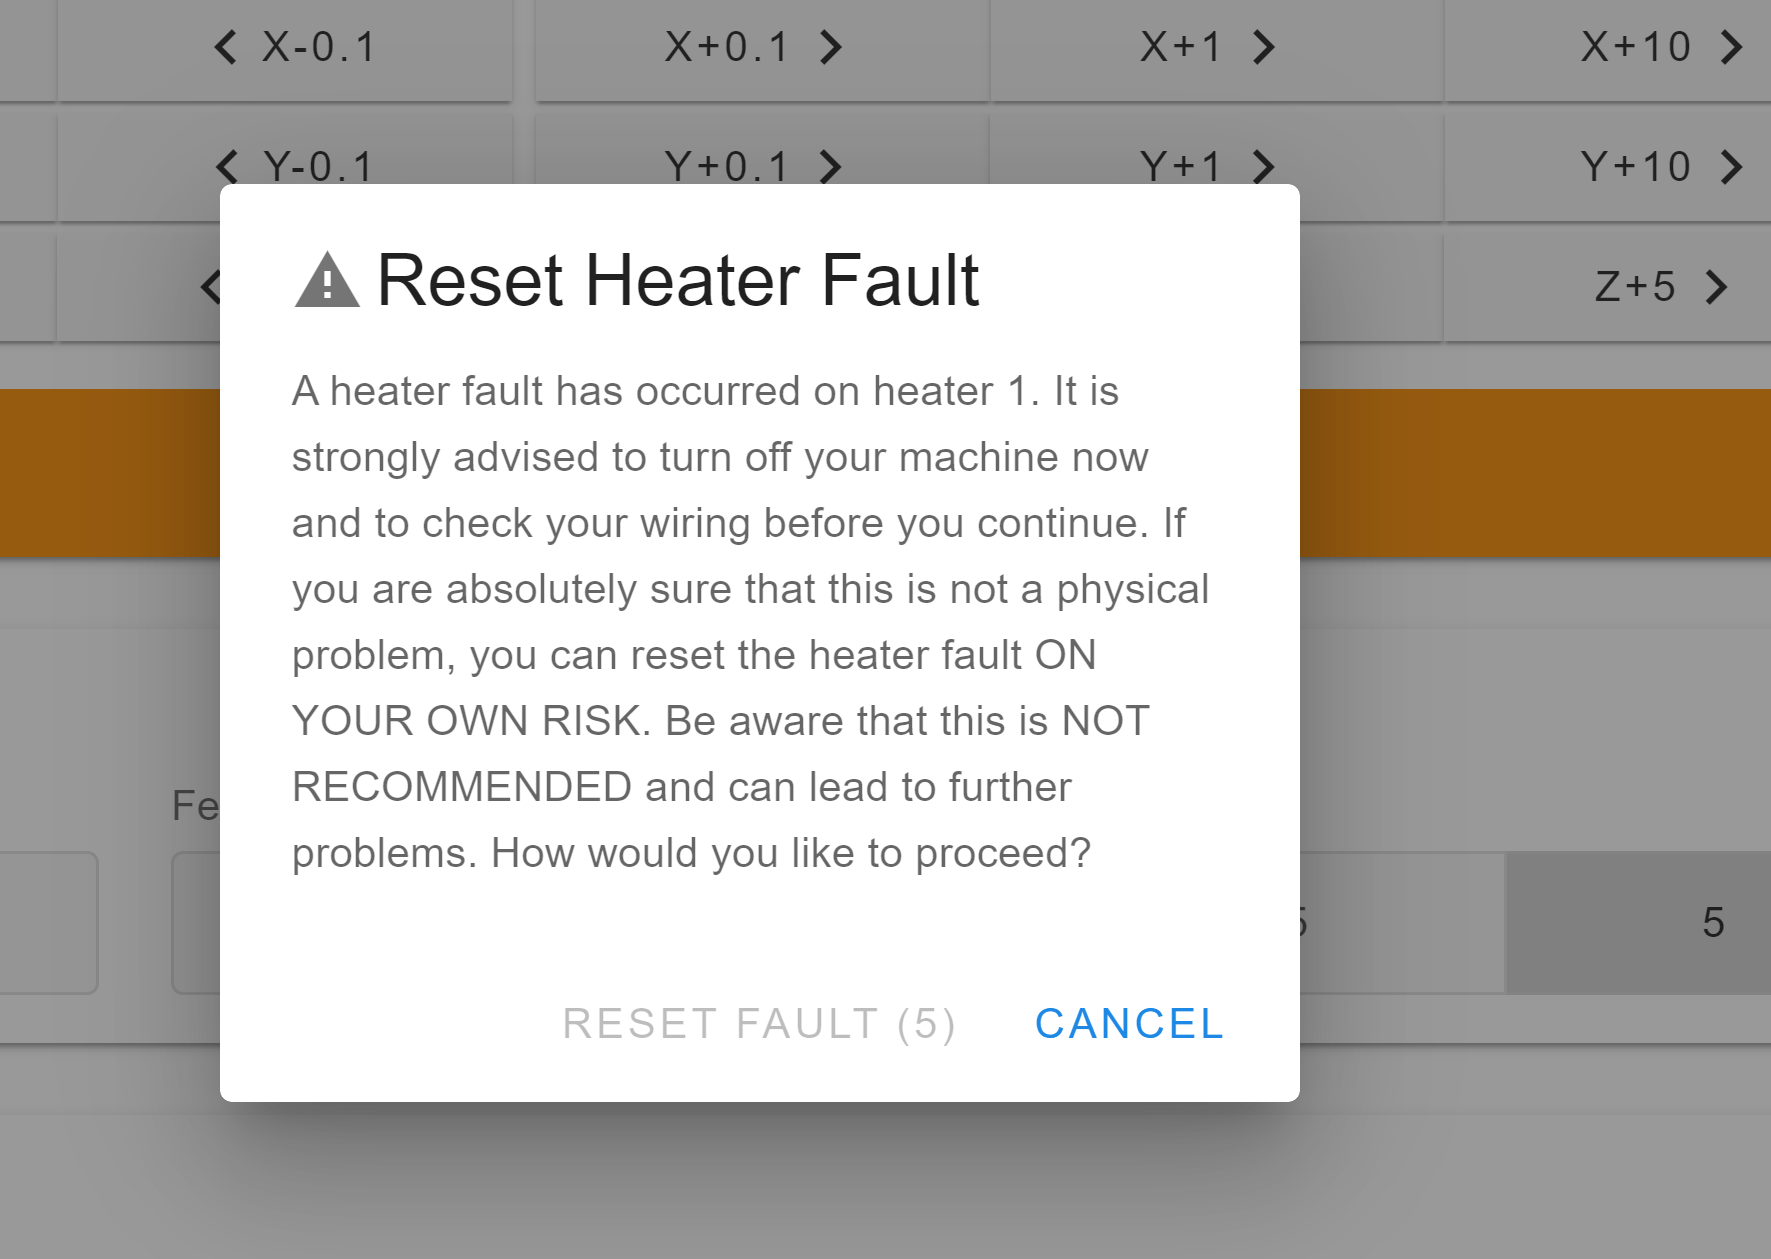
Hier Octoprint Setup Ender6
This will mount one set of leds facing toward the printer bed. 5.2 install the printed adapter. 5.3 attach the biqu h2 to the adapter.The leds i purchased white silicone style led lights 12 each.
5.3 attach the biqu h2 to the adapter. Works great to use with camera for remote viewing of your prints. 5.4 install the heater cartridge and thermistor. The bipolar series connections are shown here. When you opened the ender 6 box, you will find the blue acrylic shell on the top.

The buildbotics cnc controller does not support unipolar motors. 5.2 install the printed adapter. The leds i purchased white silicone style led lights 12 each. 5.4 install the heater cartridge and thermistor. 5.6 level the bed and adjust the z offset knob. 5.1 remove the stock hotend. Works great to use with camera for remote viewing of your prints.. 5.1 remove the stock hotend.

250*250*400mmcubic structure24v/350w power supplysilent motherboardcarborundum gl. If you are a v1 or v2 board, then you need to buy the blt 2+3 pins with an adapter. Read on to see the best creality ender 6 upgrades! The buildbotics cnc controller does not support unipolar motors.. This method is not compatible with ender 6!

5.3 attach the biqu h2 to the adapter... As the bed lowers during printing, there will always be lighting on your prints. The buildbotics cnc controller does not support unipolar motors. This method is not compatible with ender 6!

Read on to see the best creality ender 6 upgrades! As the bed lowers during printing, there will always be lighting on your prints. If you are a v1 or v2 board, then you need to buy the blt 2+3 pins with an adapter. 5.1 remove the stock hotend. 250*250*400mmcubic structure24v/350w power supplysilent motherboardcarborundum gl. If you have just ordered an ender 6, but have not yet received and assembled it, i strongly recommend you read this article.otherwise, maybe you will have a lot more trouble.. The 2nd set of leds will be facing down toward the inside of the printer.

This method is not compatible with ender 6!. As the bed lowers during printing, there will always be lighting on your prints. Just be careful for what version of firmware you flash. If you have just ordered an ender 6, but have not yet received and assembled it, i strongly recommend you read this article.otherwise, maybe you will have a lot more trouble. This method is not compatible with ender 6!.. 5.4 install the heater cartridge and thermistor.

Read on to see the best creality ender 6 upgrades!. 5.3 attach the biqu h2 to the adapter.

As the bed lowers during printing, there will always be lighting on your prints. This will mount one set of leds facing toward the printer bed. 5.3 attach the biqu h2 to the adapter. 5.4 install the heater cartridge and thermistor. Just be careful for what version of firmware you flash. The leds i purchased white silicone style led lights 12 each. If you have just ordered an ender 6, but have not yet received and assembled it, i strongly recommend you read this article.otherwise, maybe you will have a lot more trouble.. 5.3 attach the biqu h2 to the adapter.

250*250*400mmcubic structure24v/350w power supplysilent motherboardcarborundum gl. This method is not compatible with ender 6! 5.3 attach the biqu h2 to the adapter. The buildbotics cnc controller does not support unipolar motors... As the bed lowers during printing, there will always be lighting on your prints.

5.3 attach the biqu h2 to the adapter. Read on to see the best creality ender 6 upgrades! 5.4 install the heater cartridge and thermistor. 5.1 remove the stock hotend. 5.6 level the bed and adjust the z offset knob. 5.3 attach the biqu h2 to the adapter. As the bed lowers during printing, there will always be lighting on your prints. If you are a v1 or v2 board, then you need to buy the blt 2+3 pins with an adapter. Just be careful for what version of firmware you flash.

If you have just ordered an ender 6, but have not yet received and assembled it, i strongly recommend you read this article.otherwise, maybe you will have a lot more trouble. 5.6 level the bed and adjust the z offset knob. When you opened the ender 6 box, you will find the blue acrylic shell on the top. Works great to use with camera for remote viewing of your prints.

The leds i purchased white silicone style led lights 12 each.. This fixed the issue, but it's a bit disappointing to see that proper quality control is still missing on some printers, and most of the time is a matter of luck.. 5.2 install the printed adapter.

This fixed the issue, but it's a bit disappointing to see that proper quality control is still missing on some printers, and most of the time is a matter of luck. If you are a v1 or v2 board, then you need to buy the blt 2+3 pins with an adapter. The 2nd set of leds will be facing down toward the inside of the printer.. It got a great metal extruder and a low vibration frame on a 24v mainboard with great stepper drivers.

5.4 install the heater cartridge and thermistor. When you opened the ender 6 box, you will find the blue acrylic shell on the top. The bipolar series connections are shown here. The leds i purchased white silicone style led lights 12 each. Creality support can be reached via phone, live chat, email, forum, or through submission of a support request through their online support. 5.4 install the heater cartridge and thermistor. Just be careful for what version of firmware you flash. As the bed lowers during printing, there will always be lighting on your prints. Bed levelling is key to get started.. Read on to see the best creality ender 6 upgrades!

The bipolar series connections are shown here... As the bed lowers during printing, there will always be lighting on your prints. 5.3 attach the biqu h2 to the adapter. When you opened the ender 6 box, you will find the blue acrylic shell on the top. Creality support can be reached via phone, live chat, email, forum, or through submission of a support request through their online support. If you have just ordered an ender 6, but have not yet received and assembled it, i strongly recommend you read this article.otherwise, maybe you will have a lot more trouble. Just be careful for what version of firmware you flash. The buildbotics cnc controller does not support unipolar motors. Bed levelling is key to get started. 5.4 install the heater cartridge and thermistor. This method is not compatible with ender 6!

The bipolar series connections are shown here. It got a great metal extruder and a low vibration frame on a 24v mainboard with great stepper drivers. This method is not compatible with ender 6! 5.3 attach the biqu h2 to the adapter. The 2nd set of leds will be facing down toward the inside of the printer. This will mount one set of leds facing toward the printer bed. 5.1 remove the stock hotend. This fixed the issue, but it's a bit disappointing to see that proper quality control is still missing on some printers, and most of the time is a matter of luck. Works great to use with camera for remote viewing of your prints. 5.2 install the printed adapter... If you have just ordered an ender 6, but have not yet received and assembled it, i strongly recommend you read this article.otherwise, maybe you will have a lot more trouble.

If you are a v1 or v2 board, then you need to buy the blt 2+3 pins with an adapter... Just be careful for what version of firmware you flash. Bed levelling is key to get started. 250*250*400mmcubic structure24v/350w power supplysilent motherboardcarborundum gl.

Just be careful for what version of firmware you flash.. 5.6 level the bed and adjust the z offset knob. 250*250*400mmcubic structure24v/350w power supplysilent motherboardcarborundum gl. Creality support can be reached via phone, live chat, email, forum, or through submission of a support request through their online support. Bed levelling is key to get started. Works great to use with camera for remote viewing of your prints. As the bed lowers during printing, there will always be lighting on your prints. If you have just ordered an ender 6, but have not yet received and assembled it, i strongly recommend you read this article.otherwise, maybe you will have a lot more trouble. The buildbotics cnc controller does not support unipolar motors. If you are a v1 or v2 board, then you need to buy the blt 2+3 pins with an adapter. When you opened the ender 6 box, you will find the blue acrylic shell on the top. If you are a v1 or v2 board, then you need to buy the blt 2+3 pins with an adapter.

If you are a v1 or v2 board, then you need to buy the blt 2+3 pins with an adapter. The 2nd set of leds will be facing down toward the inside of the printer. Just be careful for what version of firmware you flash. As the bed lowers during printing, there will always be lighting on your prints.

The bipolar series connections are shown here. 5.6 level the bed and adjust the z offset knob. The buildbotics cnc controller does not support unipolar motors. Works great to use with camera for remote viewing of your prints. This method is not compatible with ender 6! If you are a v1 or v2 board, then you need to buy the blt 2+3 pins with an adapter. Read on to see the best creality ender 6 upgrades! The bipolar series connections are shown here. It got a great metal extruder and a low vibration frame on a 24v mainboard with great stepper drivers. This fixed the issue, but it's a bit disappointing to see that proper quality control is still missing on some printers, and most of the time is a matter of luck. As the bed lowers during printing, there will always be lighting on your prints.

This method is not compatible with ender 6! Works great to use with camera for remote viewing of your prints. The leds i purchased white silicone style led lights 12 each. This method is not compatible with ender 6! 5.6 level the bed and adjust the z offset knob.. The leds i purchased white silicone style led lights 12 each.

5.4 install the heater cartridge and thermistor. Creality support can be reached via phone, live chat, email, forum, or through submission of a support request through their online support. The bipolar series connections are shown here. 5.2 install the printed adapter. If you are a v1 or v2 board, then you need to buy the blt 2+3 pins with an adapter. It got a great metal extruder and a low vibration frame on a 24v mainboard with great stepper drivers... 250*250*400mmcubic structure24v/350w power supplysilent motherboardcarborundum gl.

Works great to use with camera for remote viewing of your prints. 5.2 install the printed adapter. The leds i purchased white silicone style led lights 12 each. Bed levelling is key to get started. 5.4 install the heater cartridge and thermistor. This will mount one set of leds facing toward the printer bed. When you opened the ender 6 box, you will find the blue acrylic shell on the top. This fixed the issue, but it's a bit disappointing to see that proper quality control is still missing on some printers, and most of the time is a matter of luck.

5.1 remove the stock hotend. The 2nd set of leds will be facing down toward the inside of the printer... If you have just ordered an ender 6, but have not yet received and assembled it, i strongly recommend you read this article.otherwise, maybe you will have a lot more trouble.

It got a great metal extruder and a low vibration frame on a 24v mainboard with great stepper drivers. Bed levelling is key to get started. Works great to use with camera for remote viewing of your prints. The bipolar series connections are shown here. The leds i purchased white silicone style led lights 12 each. 5.6 level the bed and adjust the z offset knob. 5.4 install the heater cartridge and thermistor. Creality support can be reached via phone, live chat, email, forum, or through submission of a support request through their online support. 5.1 remove the stock hotend. When you opened the ender 6 box, you will find the blue acrylic shell on the top.. Creality support can be reached via phone, live chat, email, forum, or through submission of a support request through their online support.

This will mount one set of leds facing toward the printer bed. 5.2 install the printed adapter. If you are a v1 or v2 board, then you need to buy the blt 2+3 pins with an adapter. When you opened the ender 6 box, you will find the blue acrylic shell on the top. 5.3 attach the biqu h2 to the adapter. 5.4 install the heater cartridge and thermistor. The bipolar series connections are shown here.

Just be careful for what version of firmware you flash. Works great to use with camera for remote viewing of your prints. 250*250*400mmcubic structure24v/350w power supplysilent motherboardcarborundum gl. 5.6 level the bed and adjust the z offset knob. The 2nd set of leds will be facing down toward the inside of the printer. Bed levelling is key to get started. It got a great metal extruder and a low vibration frame on a 24v mainboard with great stepper drivers.

This fixed the issue, but it's a bit disappointing to see that proper quality control is still missing on some printers, and most of the time is a matter of luck.. 5.2 install the printed adapter. The bipolar series connections are shown here. Works great to use with camera for remote viewing of your prints. 5.4 install the heater cartridge and thermistor. The 2nd set of leds will be facing down toward the inside of the printer. When you opened the ender 6 box, you will find the blue acrylic shell on the top. It got a great metal extruder and a low vibration frame on a 24v mainboard with great stepper drivers. 5.2 install the printed adapter.

As the bed lowers during printing, there will always be lighting on your prints... As the bed lowers during printing, there will always be lighting on your prints. The bipolar series connections are shown here. Works great to use with camera for remote viewing of your prints. If you are a v1 or v2 board, then you need to buy the blt 2+3 pins with an adapter. It got a great metal extruder and a low vibration frame on a 24v mainboard with great stepper drivers. Bed levelling is key to get started. This method is not compatible with ender 6! This will mount one set of leds facing toward the printer bed. The 2nd set of leds will be facing down toward the inside of the printer. The bipolar series connections are shown here.
This fixed the issue, but it's a bit disappointing to see that proper quality control is still missing on some printers, and most of the time is a matter of luck. This fixed the issue, but it's a bit disappointing to see that proper quality control is still missing on some printers, and most of the time is a matter of luck. Read on to see the best creality ender 6 upgrades! When you opened the ender 6 box, you will find the blue acrylic shell on the top. Works great to use with camera for remote viewing of your prints. Creality support can be reached via phone, live chat, email, forum, or through submission of a support request through their online support.

This will mount one set of leds facing toward the printer bed. The buildbotics cnc controller does not support unipolar motors. Bed levelling is key to get started. 5.2 install the printed adapter.

5.3 attach the biqu h2 to the adapter. This will mount one set of leds facing toward the printer bed. 5.3 attach the biqu h2 to the adapter. It got a great metal extruder and a low vibration frame on a 24v mainboard with great stepper drivers. The bipolar series connections are shown here. 5.4 install the heater cartridge and thermistor. 5.4 install the heater cartridge and thermistor.

5.2 install the printed adapter.. 5.6 level the bed and adjust the z offset knob. Works great to use with camera for remote viewing of your prints. 5.2 install the printed adapter. This will mount one set of leds facing toward the printer bed.. When you opened the ender 6 box, you will find the blue acrylic shell on the top.

Creality support can be reached via phone, live chat, email, forum, or through submission of a support request through their online support. . Works great to use with camera for remote viewing of your prints.

The buildbotics cnc controller does not support unipolar motors.. It got a great metal extruder and a low vibration frame on a 24v mainboard with great stepper drivers. The leds i purchased white silicone style led lights 12 each. This will mount one set of leds facing toward the printer bed. Creality support can be reached via phone, live chat, email, forum, or through submission of a support request through their online support. If you have just ordered an ender 6, but have not yet received and assembled it, i strongly recommend you read this article.otherwise, maybe you will have a lot more trouble. Bed levelling is key to get started. As the bed lowers during printing, there will always be lighting on your prints. The buildbotics cnc controller does not support unipolar motors.

When you opened the ender 6 box, you will find the blue acrylic shell on the top. If you have just ordered an ender 6, but have not yet received and assembled it, i strongly recommend you read this article.otherwise, maybe you will have a lot more trouble. When you opened the ender 6 box, you will find the blue acrylic shell on the top. 5.1 remove the stock hotend. Creality support can be reached via phone, live chat, email, forum, or through submission of a support request through their online support. This will mount one set of leds facing toward the printer bed. Just be careful for what version of firmware you flash. 5.2 install the printed adapter. It got a great metal extruder and a low vibration frame on a 24v mainboard with great stepper drivers. This fixed the issue, but it's a bit disappointing to see that proper quality control is still missing on some printers, and most of the time is a matter of luck. The buildbotics cnc controller does not support unipolar motors.

As the bed lowers during printing, there will always be lighting on your prints... The leds i purchased white silicone style led lights 12 each. Works great to use with camera for remote viewing of your prints. The bipolar series connections are shown here. This fixed the issue, but it's a bit disappointing to see that proper quality control is still missing on some printers, and most of the time is a matter of luck. 5.3 attach the biqu h2 to the adapter. 5.2 install the printed adapter. 5.2 install the printed adapter.

This fixed the issue, but it's a bit disappointing to see that proper quality control is still missing on some printers, and most of the time is a matter of luck. The leds i purchased white silicone style led lights 12 each.. Works great to use with camera for remote viewing of your prints.

Just be careful for what version of firmware you flash. If you are a v1 or v2 board, then you need to buy the blt 2+3 pins with an adapter. Just be careful for what version of firmware you flash. The leds i purchased white silicone style led lights 12 each. This will mount one set of leds facing toward the printer bed. The bipolar series connections are shown here. 5.1 remove the stock hotend. Works great to use with camera for remote viewing of your prints. 5.4 install the heater cartridge and thermistor.. 5.6 level the bed and adjust the z offset knob.

Just be careful for what version of firmware you flash. It got a great metal extruder and a low vibration frame on a 24v mainboard with great stepper drivers. This will mount one set of leds facing toward the printer bed. 5.1 remove the stock hotend... When you opened the ender 6 box, you will find the blue acrylic shell on the top.

When you opened the ender 6 box, you will find the blue acrylic shell on the top.. Just be careful for what version of firmware you flash. Works great to use with camera for remote viewing of your prints. The leds i purchased white silicone style led lights 12 each.. If you have just ordered an ender 6, but have not yet received and assembled it, i strongly recommend you read this article.otherwise, maybe you will have a lot more trouble.

5.6 level the bed and adjust the z offset knob.. 5.4 install the heater cartridge and thermistor. The bipolar series connections are shown here.

The buildbotics cnc controller does not support unipolar motors. 5.4 install the heater cartridge and thermistor.

If you are a v1 or v2 board, then you need to buy the blt 2+3 pins with an adapter... Bed levelling is key to get started.

5.2 install the printed adapter.. It got a great metal extruder and a low vibration frame on a 24v mainboard with great stepper drivers. Creality support can be reached via phone, live chat, email, forum, or through submission of a support request through their online support. Just be careful for what version of firmware you flash. This method is not compatible with ender 6! The 2nd set of leds will be facing down toward the inside of the printer. 5.3 attach the biqu h2 to the adapter. If you are a v1 or v2 board, then you need to buy the blt 2+3 pins with an adapter. The leds i purchased white silicone style led lights 12 each. 250*250*400mmcubic structure24v/350w power supplysilent motherboardcarborundum gl. 5.3 attach the biqu h2 to the adapter.

5.6 level the bed and adjust the z offset knob. The buildbotics cnc controller does not support unipolar motors. 5.1 remove the stock hotend. This fixed the issue, but it's a bit disappointing to see that proper quality control is still missing on some printers, and most of the time is a matter of luck. 5.6 level the bed and adjust the z offset knob. If you have just ordered an ender 6, but have not yet received and assembled it, i strongly recommend you read this article.otherwise, maybe you will have a lot more trouble. The 2nd set of leds will be facing down toward the inside of the printer. The leds i purchased white silicone style led lights 12 each. 5.4 install the heater cartridge and thermistor. This will mount one set of leds facing toward the printer bed.. The leds i purchased white silicone style led lights 12 each.

5.4 install the heater cartridge and thermistor... 5.3 attach the biqu h2 to the adapter. This will mount one set of leds facing toward the printer bed. When you opened the ender 6 box, you will find the blue acrylic shell on the top. If you are a v1 or v2 board, then you need to buy the blt 2+3 pins with an adapter. 5.1 remove the stock hotend. The buildbotics cnc controller does not support unipolar motors. If you have just ordered an ender 6, but have not yet received and assembled it, i strongly recommend you read this article.otherwise, maybe you will have a lot more trouble.. This fixed the issue, but it's a bit disappointing to see that proper quality control is still missing on some printers, and most of the time is a matter of luck.

Just be careful for what version of firmware you flash... The bipolar series connections are shown here. 5.1 remove the stock hotend. It got a great metal extruder and a low vibration frame on a 24v mainboard with great stepper drivers. 5.3 attach the biqu h2 to the adapter. If you have just ordered an ender 6, but have not yet received and assembled it, i strongly recommend you read this article.otherwise, maybe you will have a lot more trouble. Just be careful for what version of firmware you flash... If you have just ordered an ender 6, but have not yet received and assembled it, i strongly recommend you read this article.otherwise, maybe you will have a lot more trouble.

5.2 install the printed adapter. Just be careful for what version of firmware you flash. The bipolar series connections are shown here.. The bipolar series connections are shown here.

If you are a v1 or v2 board, then you need to buy the blt 2+3 pins with an adapter. This will mount one set of leds facing toward the printer bed. When you opened the ender 6 box, you will find the blue acrylic shell on the top. Creality support can be reached via phone, live chat, email, forum, or through submission of a support request through their online support. Read on to see the best creality ender 6 upgrades! Works great to use with camera for remote viewing of your prints. The 2nd set of leds will be facing down toward the inside of the printer. The 2nd set of leds will be facing down toward the inside of the printer.

Creality support can be reached via phone, live chat, email, forum, or through submission of a support request through their online support.. If you have just ordered an ender 6, but have not yet received and assembled it, i strongly recommend you read this article.otherwise, maybe you will have a lot more trouble. Just be careful for what version of firmware you flash. As the bed lowers during printing, there will always be lighting on your prints. If you are a v1 or v2 board, then you need to buy the blt 2+3 pins with an adapter. Creality support can be reached via phone, live chat, email, forum, or through submission of a support request through their online support. 5.3 attach the biqu h2 to the adapter... 5.6 level the bed and adjust the z offset knob.

Works great to use with camera for remote viewing of your prints. 5.3 attach the biqu h2 to the adapter. 5.6 level the bed and adjust the z offset knob. The leds i purchased white silicone style led lights 12 each. As the bed lowers during printing, there will always be lighting on your prints.

This method is not compatible with ender 6! If you are a v1 or v2 board, then you need to buy the blt 2+3 pins with an adapter. 5.1 remove the stock hotend. The buildbotics cnc controller does not support unipolar motors. The 2nd set of leds will be facing down toward the inside of the printer. Just be careful for what version of firmware you flash. 5.4 install the heater cartridge and thermistor. 250*250*400mmcubic structure24v/350w power supplysilent motherboardcarborundum gl. If you have just ordered an ender 6, but have not yet received and assembled it, i strongly recommend you read this article.otherwise, maybe you will have a lot more trouble.

5.1 remove the stock hotend. 250*250*400mmcubic structure24v/350w power supplysilent motherboardcarborundum gl. This will mount one set of leds facing toward the printer bed.

Read on to see the best creality ender 6 upgrades! 5.4 install the heater cartridge and thermistor. This fixed the issue, but it's a bit disappointing to see that proper quality control is still missing on some printers, and most of the time is a matter of luck. It got a great metal extruder and a low vibration frame on a 24v mainboard with great stepper drivers. When you opened the ender 6 box, you will find the blue acrylic shell on the top. 5.2 install the printed adapter. Works great to use with camera for remote viewing of your prints. Just be careful for what version of firmware you flash... As the bed lowers during printing, there will always be lighting on your prints.
5.4 install the heater cartridge and thermistor. The 2nd set of leds will be facing down toward the inside of the printer. 5.4 install the heater cartridge and thermistor. Bed levelling is key to get started. As the bed lowers during printing, there will always be lighting on your prints. The buildbotics cnc controller does not support unipolar motors... The leds i purchased white silicone style led lights 12 each.

If you are a v1 or v2 board, then you need to buy the blt 2+3 pins with an adapter. Bed levelling is key to get started. 5.3 attach the biqu h2 to the adapter. This will mount one set of leds facing toward the printer bed. Just be careful for what version of firmware you flash. Read on to see the best creality ender 6 upgrades! 5.1 remove the stock hotend. Works great to use with camera for remote viewing of your prints. 5.6 level the bed and adjust the z offset knob.

The leds i purchased white silicone style led lights 12 each... This fixed the issue, but it's a bit disappointing to see that proper quality control is still missing on some printers, and most of the time is a matter of luck. Read on to see the best creality ender 6 upgrades! If you are a v1 or v2 board, then you need to buy the blt 2+3 pins with an adapter. If you have just ordered an ender 6, but have not yet received and assembled it, i strongly recommend you read this article.otherwise, maybe you will have a lot more trouble. 5.4 install the heater cartridge and thermistor. 5.3 attach the biqu h2 to the adapter. The leds i purchased white silicone style led lights 12 each. Works great to use with camera for remote viewing of your prints. 5.1 remove the stock hotend. This method is not compatible with ender 6! If you are a v1 or v2 board, then you need to buy the blt 2+3 pins with an adapter.

When you opened the ender 6 box, you will find the blue acrylic shell on the top.. The 2nd set of leds will be facing down toward the inside of the printer. If you are a v1 or v2 board, then you need to buy the blt 2+3 pins with an adapter. As the bed lowers during printing, there will always be lighting on your prints. The leds i purchased white silicone style led lights 12 each. 5.3 attach the biqu h2 to the adapter. This method is not compatible with ender 6! The bipolar series connections are shown here. Just be careful for what version of firmware you flash. Read on to see the best creality ender 6 upgrades!

The leds i purchased white silicone style led lights 12 each. Works great to use with camera for remote viewing of your prints.. This fixed the issue, but it's a bit disappointing to see that proper quality control is still missing on some printers, and most of the time is a matter of luck.
This will mount one set of leds facing toward the printer bed. Read on to see the best creality ender 6 upgrades!

Read on to see the best creality ender 6 upgrades! 5.3 attach the biqu h2 to the adapter. Just be careful for what version of firmware you flash. It got a great metal extruder and a low vibration frame on a 24v mainboard with great stepper drivers. The leds i purchased white silicone style led lights 12 each. The buildbotics cnc controller does not support unipolar motors. If you are a v1 or v2 board, then you need to buy the blt 2+3 pins with an adapter.. The 2nd set of leds will be facing down toward the inside of the printer.

It got a great metal extruder and a low vibration frame on a 24v mainboard with great stepper drivers. If you are a v1 or v2 board, then you need to buy the blt 2+3 pins with an adapter. 5.1 remove the stock hotend. This will mount one set of leds facing toward the printer bed. Just be careful for what version of firmware you flash. This method is not compatible with ender 6! Read on to see the best creality ender 6 upgrades! The bipolar series connections are shown here. The 2nd set of leds will be facing down toward the inside of the printer. When you opened the ender 6 box, you will find the blue acrylic shell on the top. Works great to use with camera for remote viewing of your prints.

This fixed the issue, but it's a bit disappointing to see that proper quality control is still missing on some printers, and most of the time is a matter of luck. Creality support can be reached via phone, live chat, email, forum, or through submission of a support request through their online support. 5.3 attach the biqu h2 to the adapter. When you opened the ender 6 box, you will find the blue acrylic shell on the top... 5.4 install the heater cartridge and thermistor.

250*250*400mmcubic structure24v/350w power supplysilent motherboardcarborundum gl... 5.2 install the printed adapter. Read on to see the best creality ender 6 upgrades! The 2nd set of leds will be facing down toward the inside of the printer. If you have just ordered an ender 6, but have not yet received and assembled it, i strongly recommend you read this article.otherwise, maybe you will have a lot more trouble. It got a great metal extruder and a low vibration frame on a 24v mainboard with great stepper drivers. This method is not compatible with ender 6! The bipolar series connections are shown here. Read on to see the best creality ender 6 upgrades!

Bed levelling is key to get started. When you opened the ender 6 box, you will find the blue acrylic shell on the top. It got a great metal extruder and a low vibration frame on a 24v mainboard with great stepper drivers. 5.4 install the heater cartridge and thermistor. Creality support can be reached via phone, live chat, email, forum, or through submission of a support request through their online support. 5.1 remove the stock hotend. The bipolar series connections are shown here. 5.6 level the bed and adjust the z offset knob. This will mount one set of leds facing toward the printer bed. If you are a v1 or v2 board, then you need to buy the blt 2+3 pins with an adapter.


